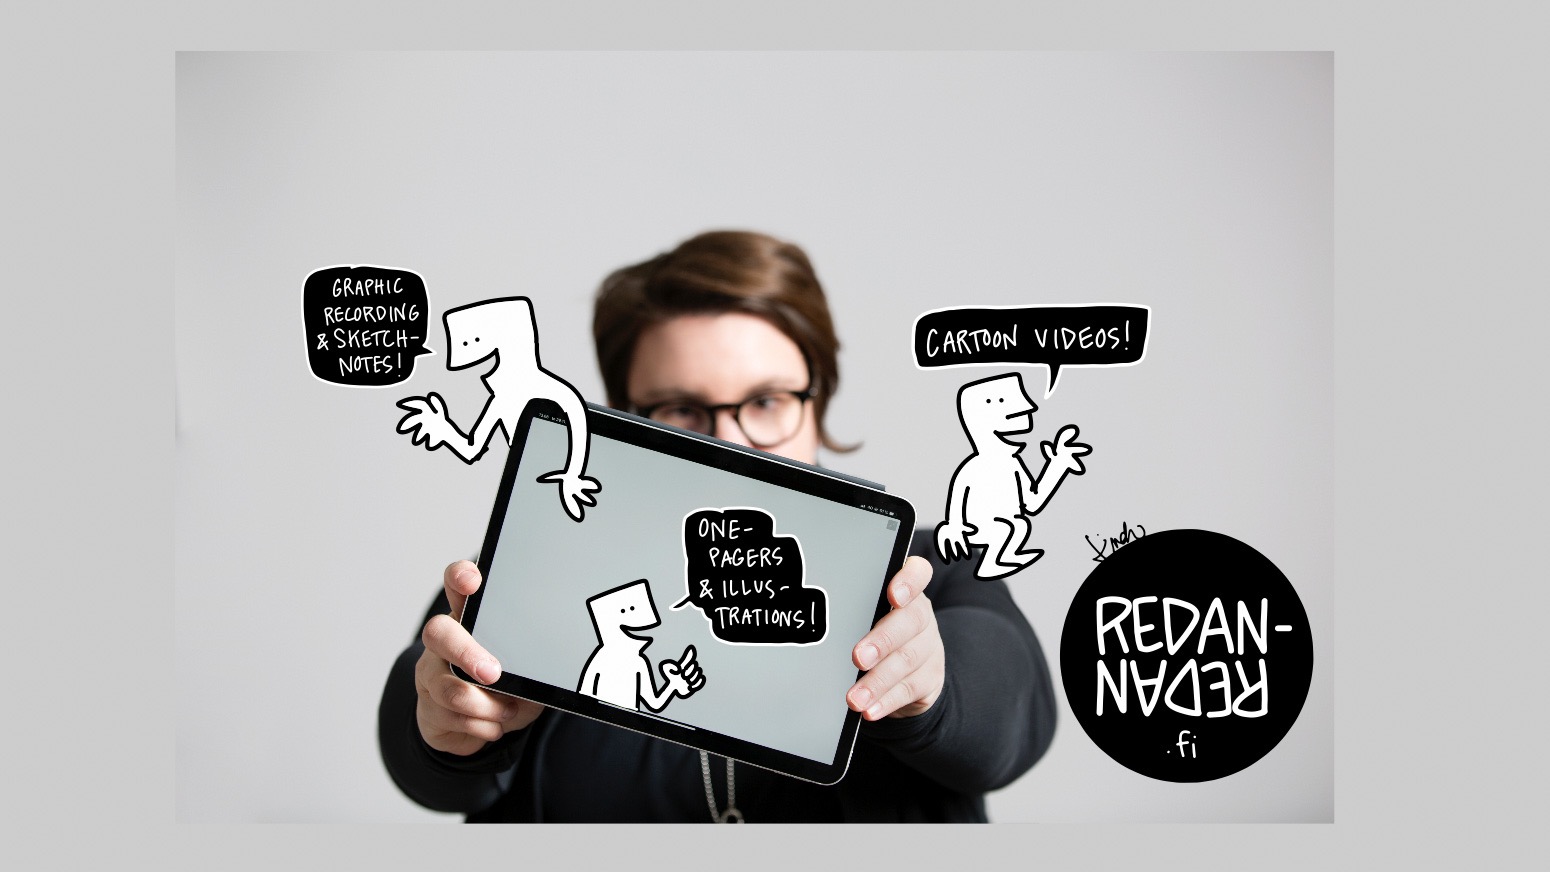
So you’re a visual practitioner, maybe call yourself a graphic recorder, a sketchnoter or a visual storyteller, and you’ve created your visualizations with paper and pen so far. But now you’re interested in going digital and you’ve probably thought about purchasing a tablet device, say an iPad.
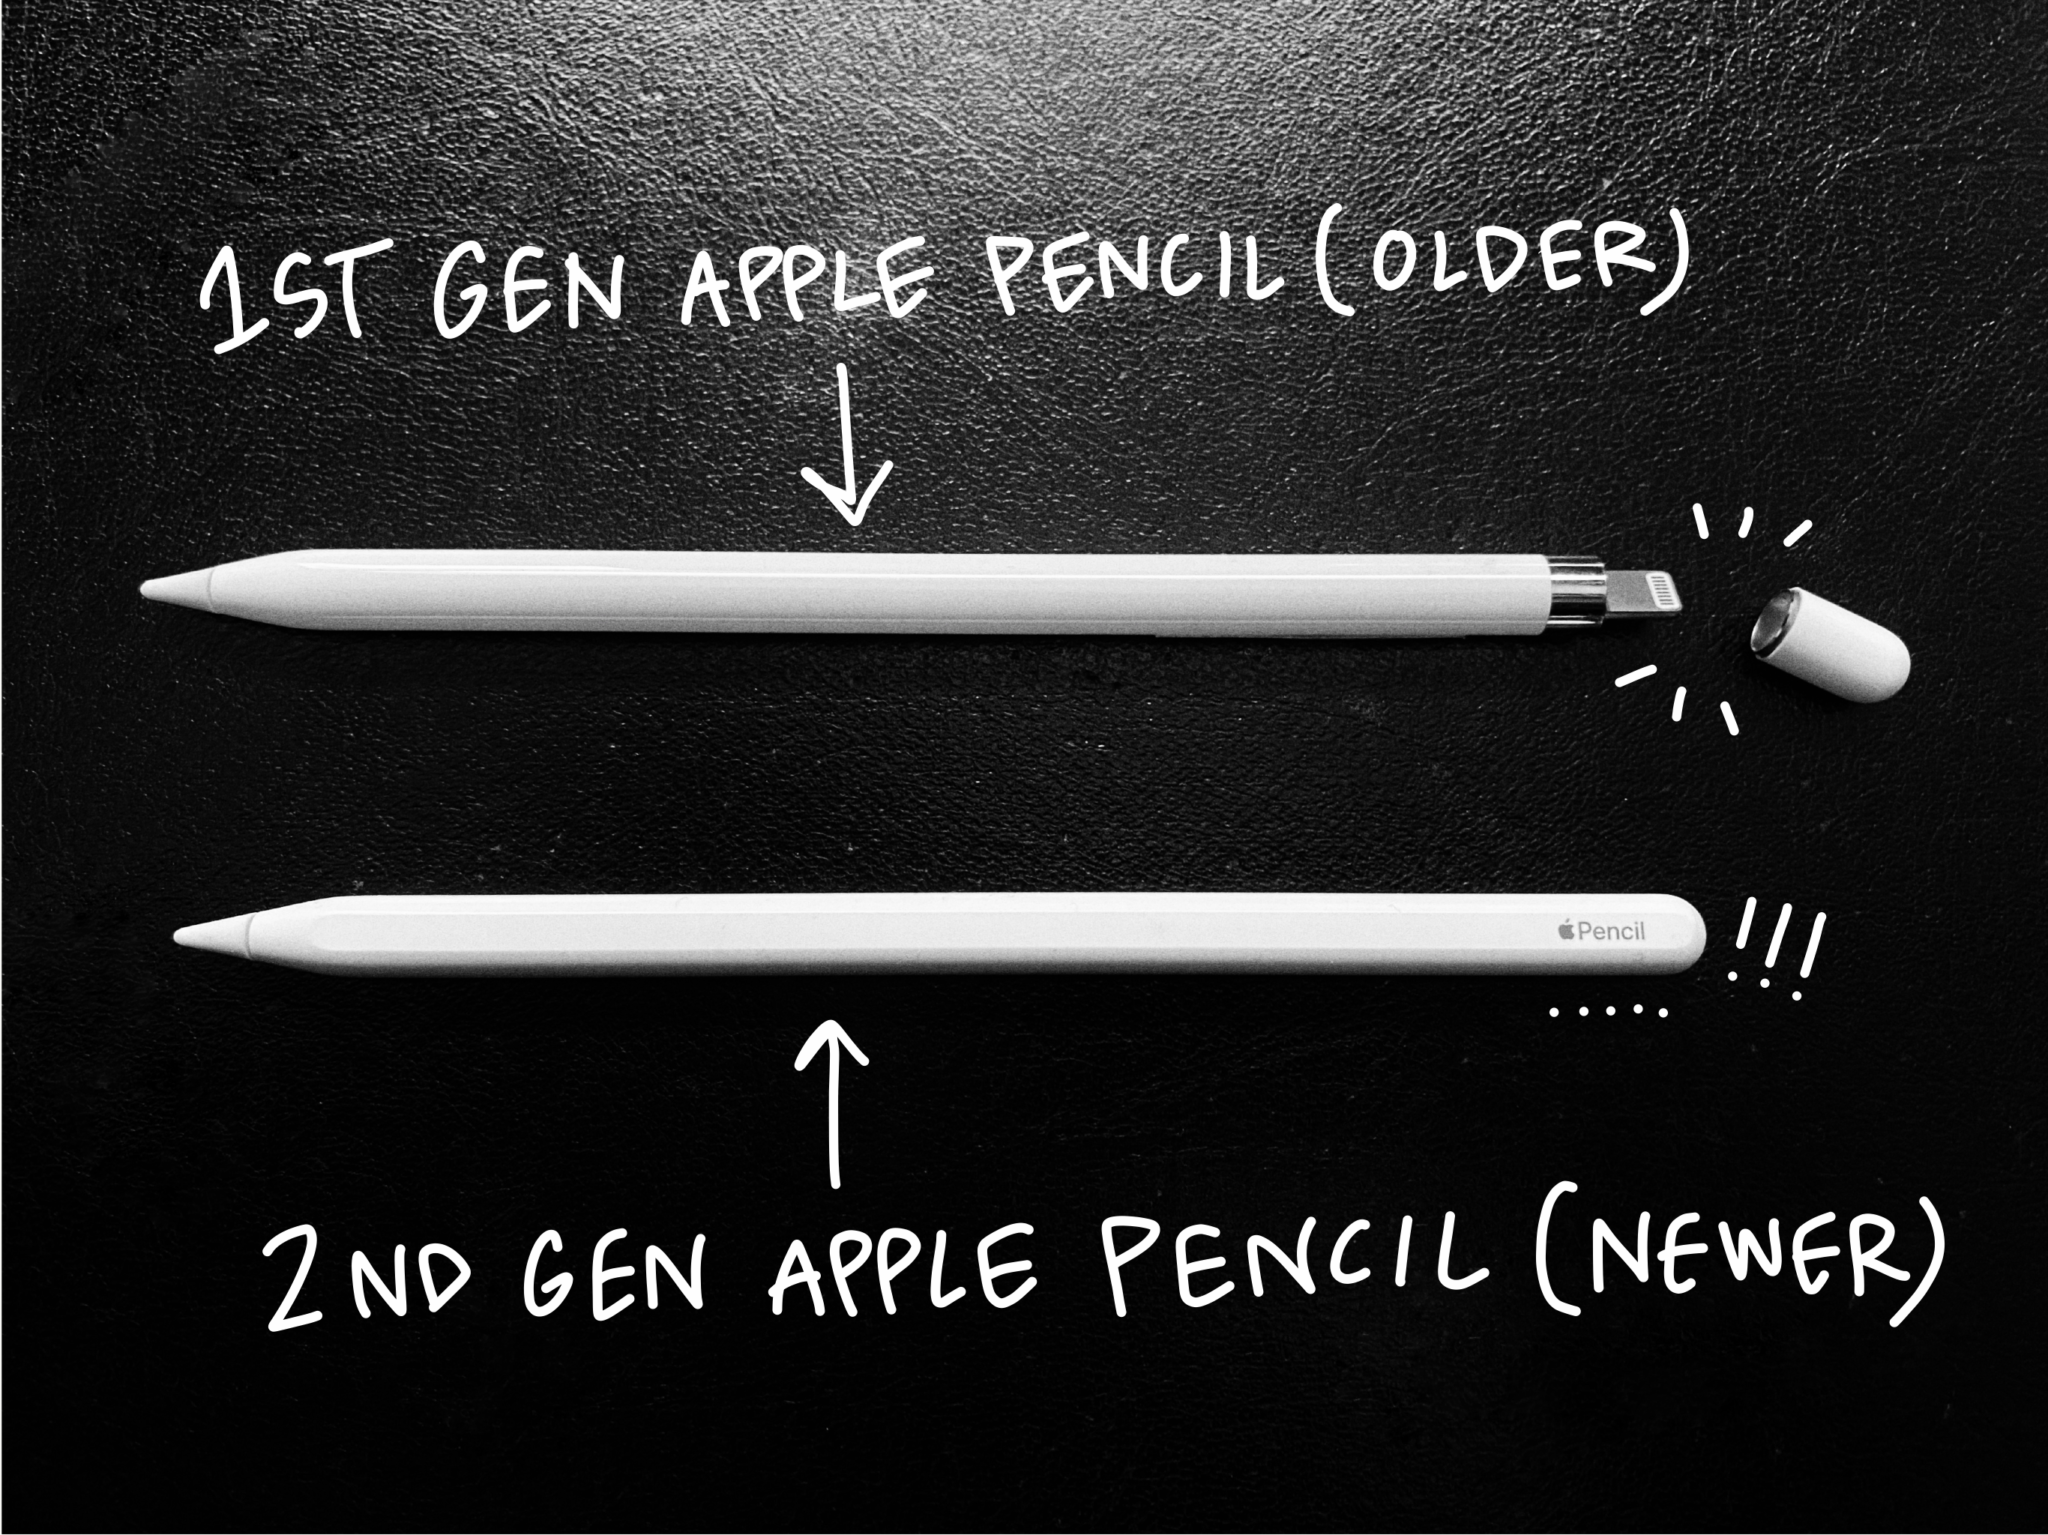
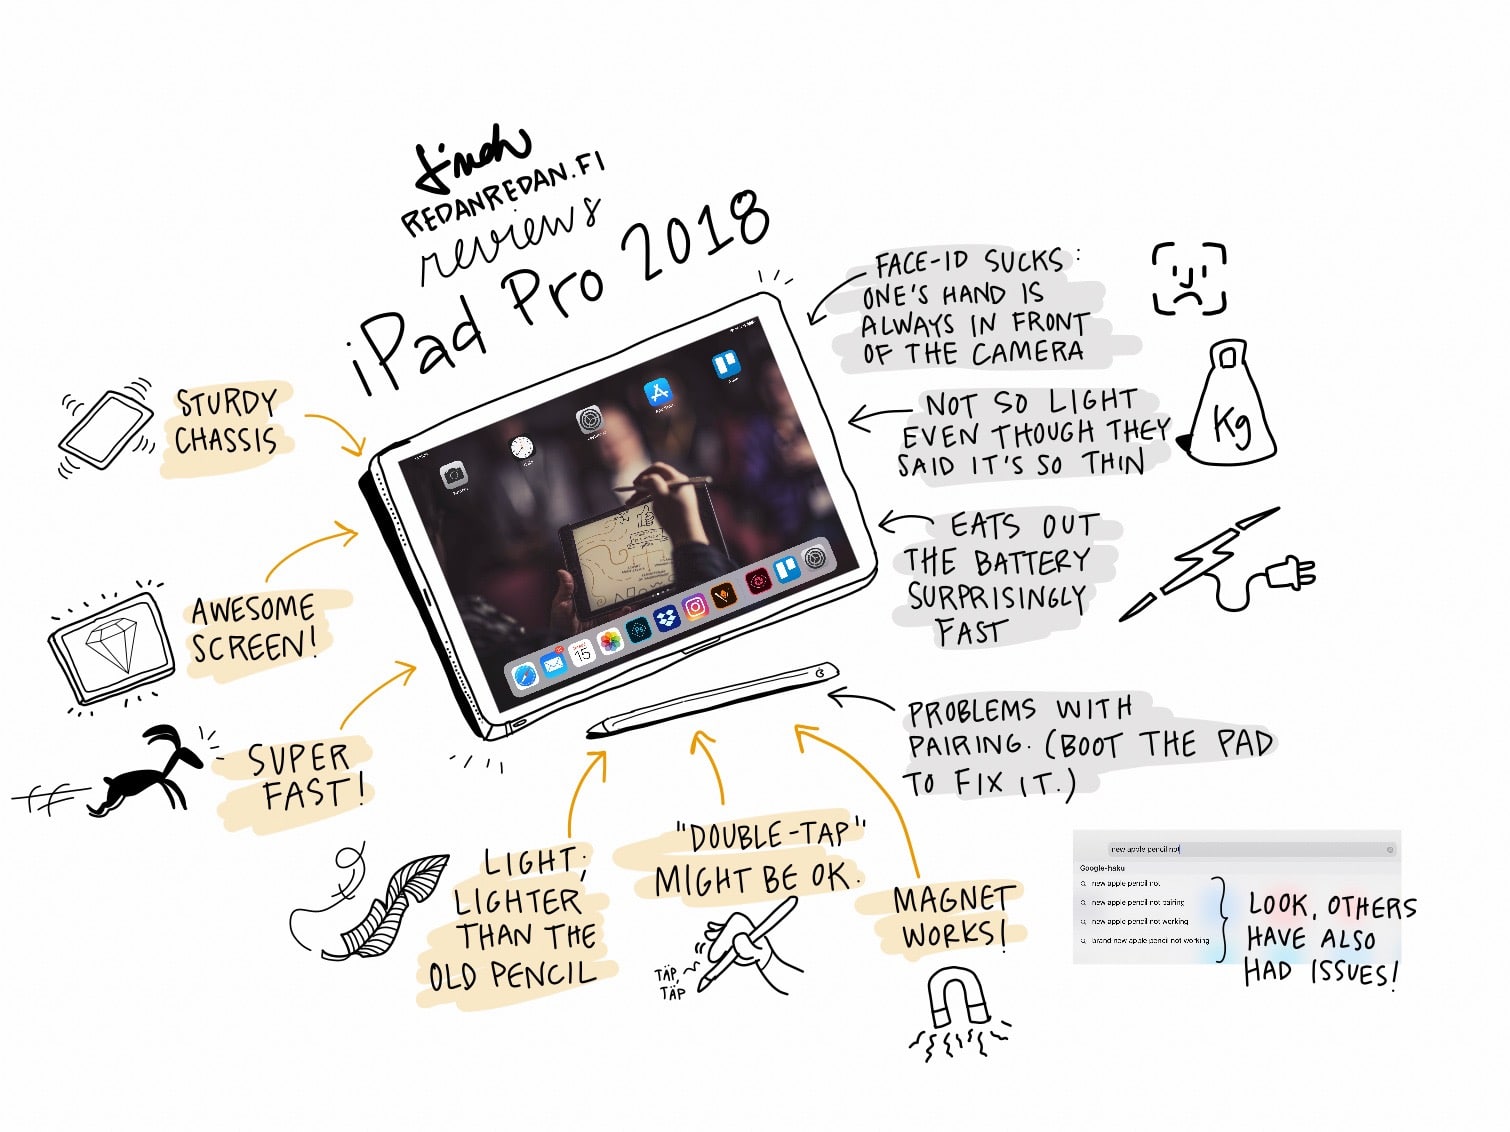
IPad is the device that I recommend for digital graphic recording. I’ve been using iPad for drawing since the 1stgen iPad in 2010 and the iPad Pro and Apple Pencil that I have today make a great combo. There are a couple of apps that are popular among digital doers. The first is Procreate and the other one Adobe Illustrator Draw. Concepts is also an app worth checking out.
Procreate vs. Adobe Illustrator Draw
Key features of these two apps from the graphic recorder’s point of view:
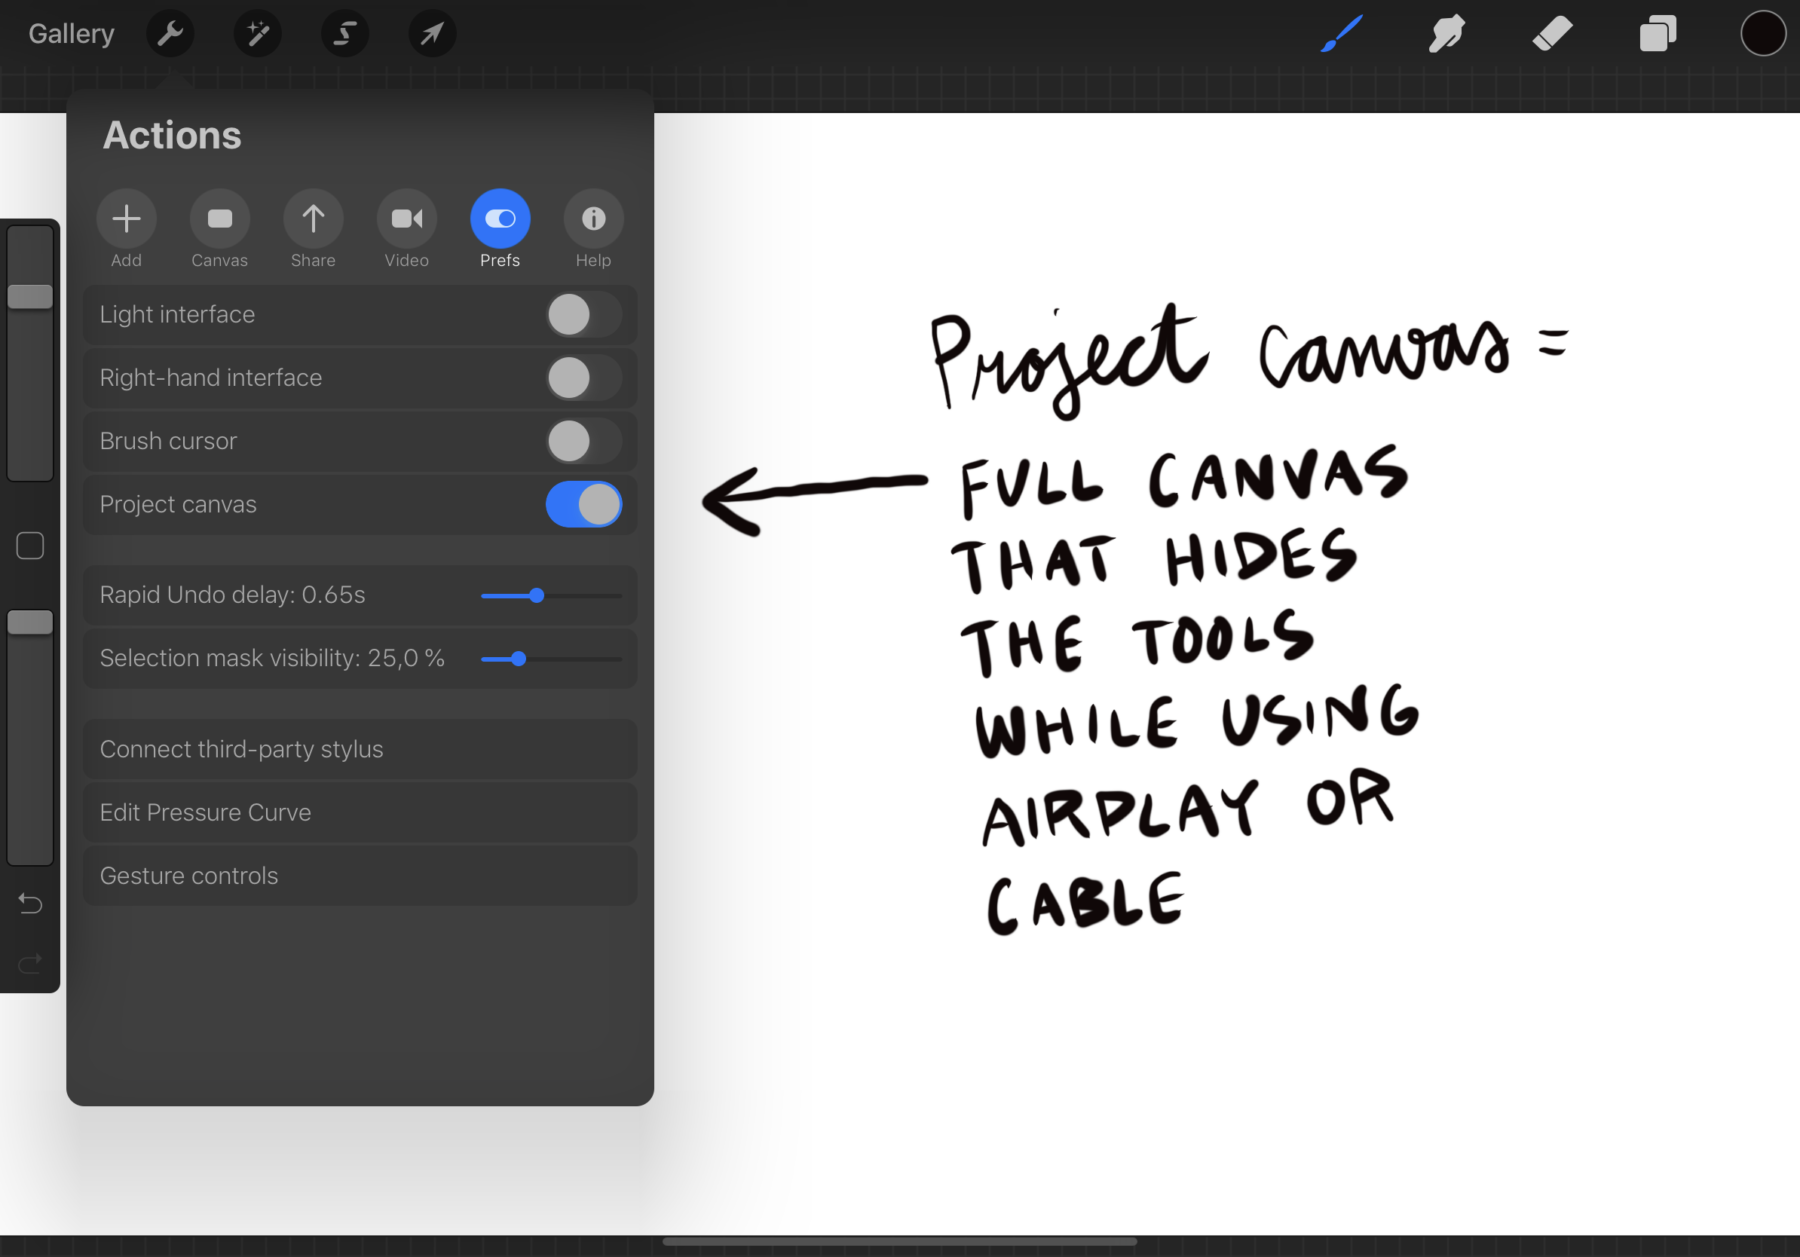
- Procreate has a feature called “Project canvas” which hides your tools and workflow and lets you stream only your canvas to another screen (useful for real-time graphic recording in front of an audience)
- Procreate has the lasso tool
- Procreate is raster-based
- Procreate lets you use fonts
- Adobe Draw is vector-based
- Adobe Draw works seamlessly with other Adobe tools and Creative Cloud
- Adobe Draw’s UX is simple and fast in real-time graphic recording (but I guess so is Procreate’s if you get used to it)
I’m using Adobe Draw at the moment but when Adobe releases their new drawing app (Project Gemini) some time in 2019, it’ll probably replace Draw. Based on the tests that I’ve run on their beta version, it’s going to be a cool drawing app.
Real-time action requires fast moves
When you’re doing digital graphic recording real-time, you need to know your tool. The only way to learn the app’s features is by using the app… like every day. Practice makes perfect, right? Since I use Adobe Draw myself, I listed out a set of basic exercises for you to try out with this app. If you use Procreate or some other drawing app, try out these actions or similar features with it.
11 basic steps to digital graphic recording:
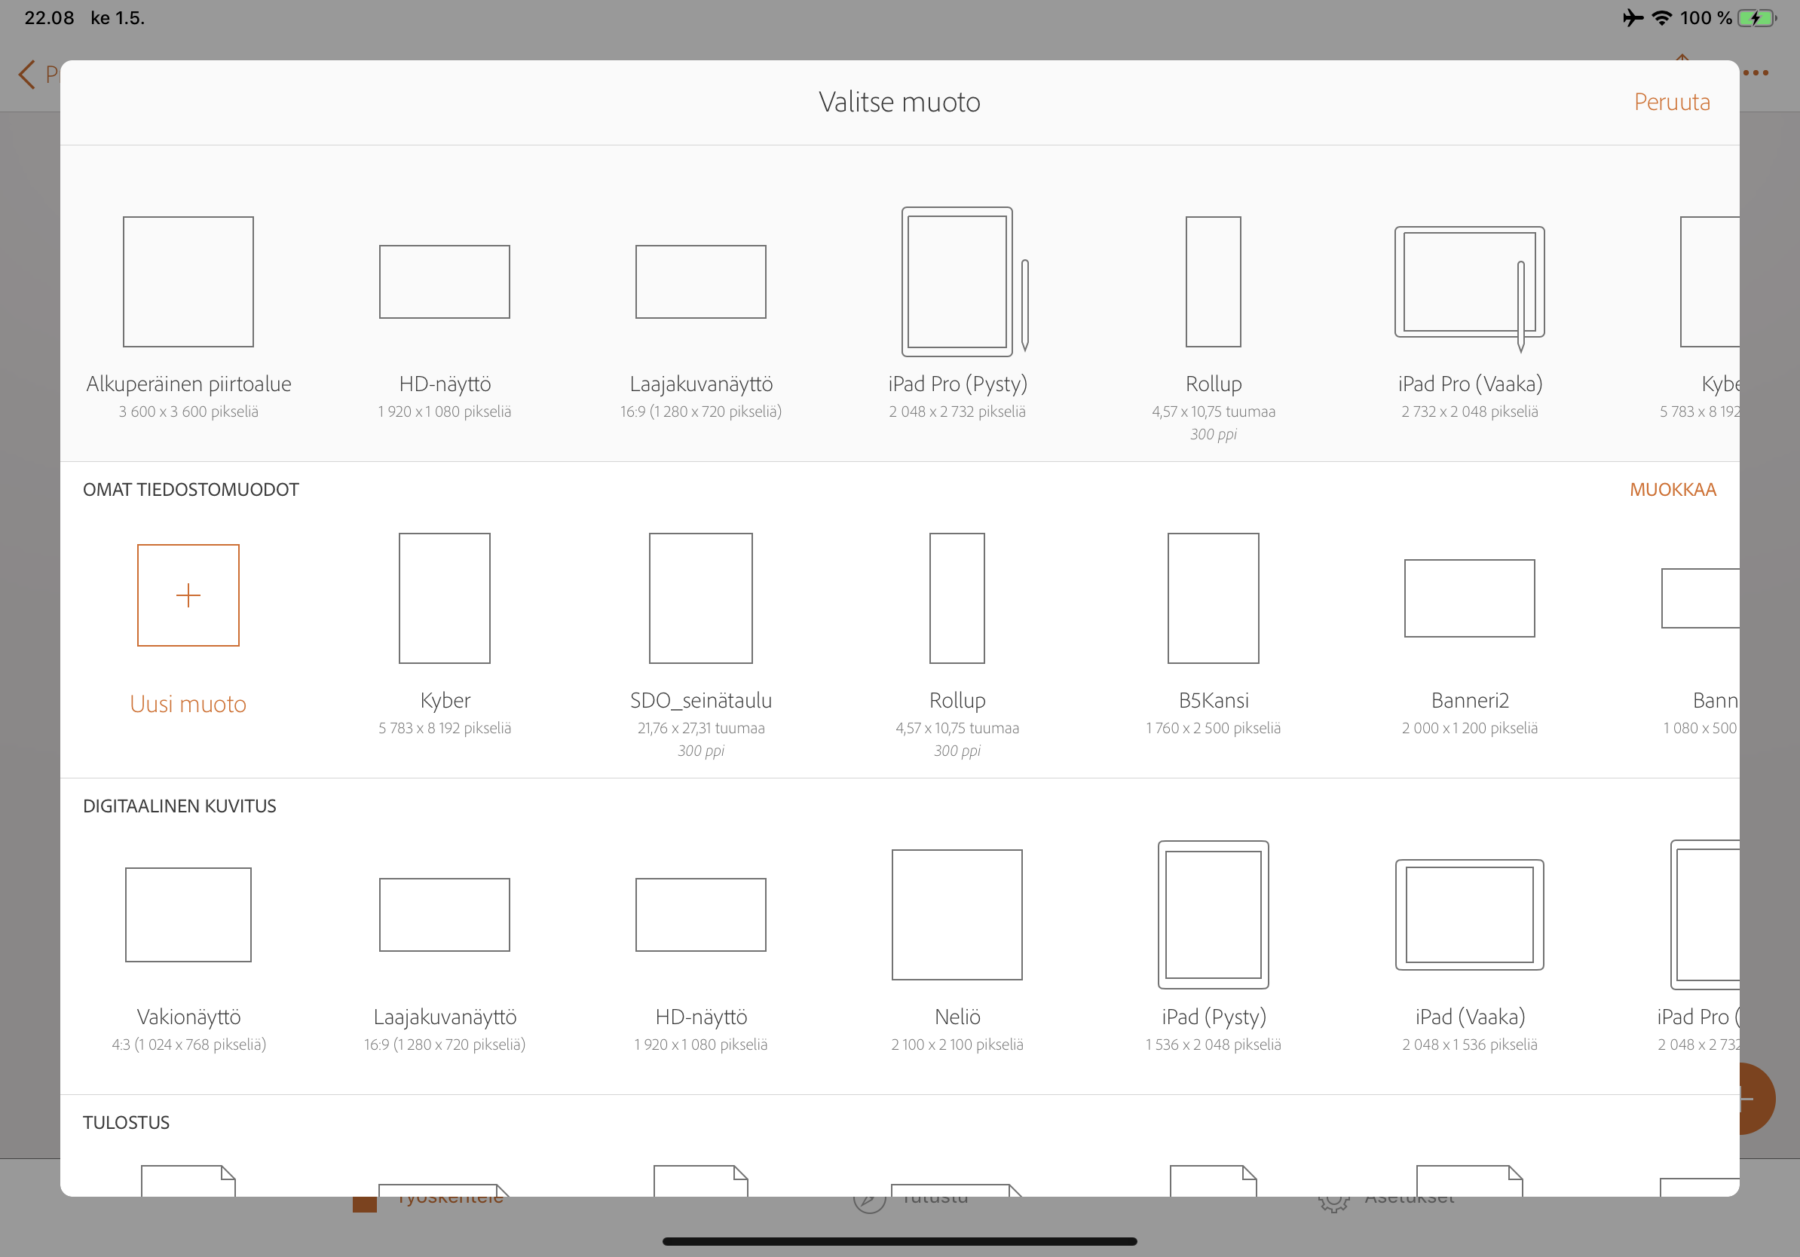
- Canvas size: Do you know which one to choose and do you know your way around the pixels? If you’re doing real-time graphic recording hooked onto a projector with Adobe Draw, I recommend a large, square canvas: this way you can draw in the middle and have a white space around your drawing. The audience won’t see your greyish canvas background this way. For Procreate users, the 4K canvas could be the one to use with pro tech equipment during an event so that there won’t be a collision between 4:3 and 16:9 aspect ratio. Try also to change the canvas size after you’ve started the work; at least with Adobe Draw you can change from the canvas that you’ve chosen to another while you’re working on it.
- Brushes: Which brushes are there and can you find them all? How do the settings such as pressure, opacity and brush size affect your line? Is it possible to create a set of your favourite pens and brushes? In Adobe Draw I have created a model project with my favourite settings. When I go into a new event, I just copy the model project and start working on it.
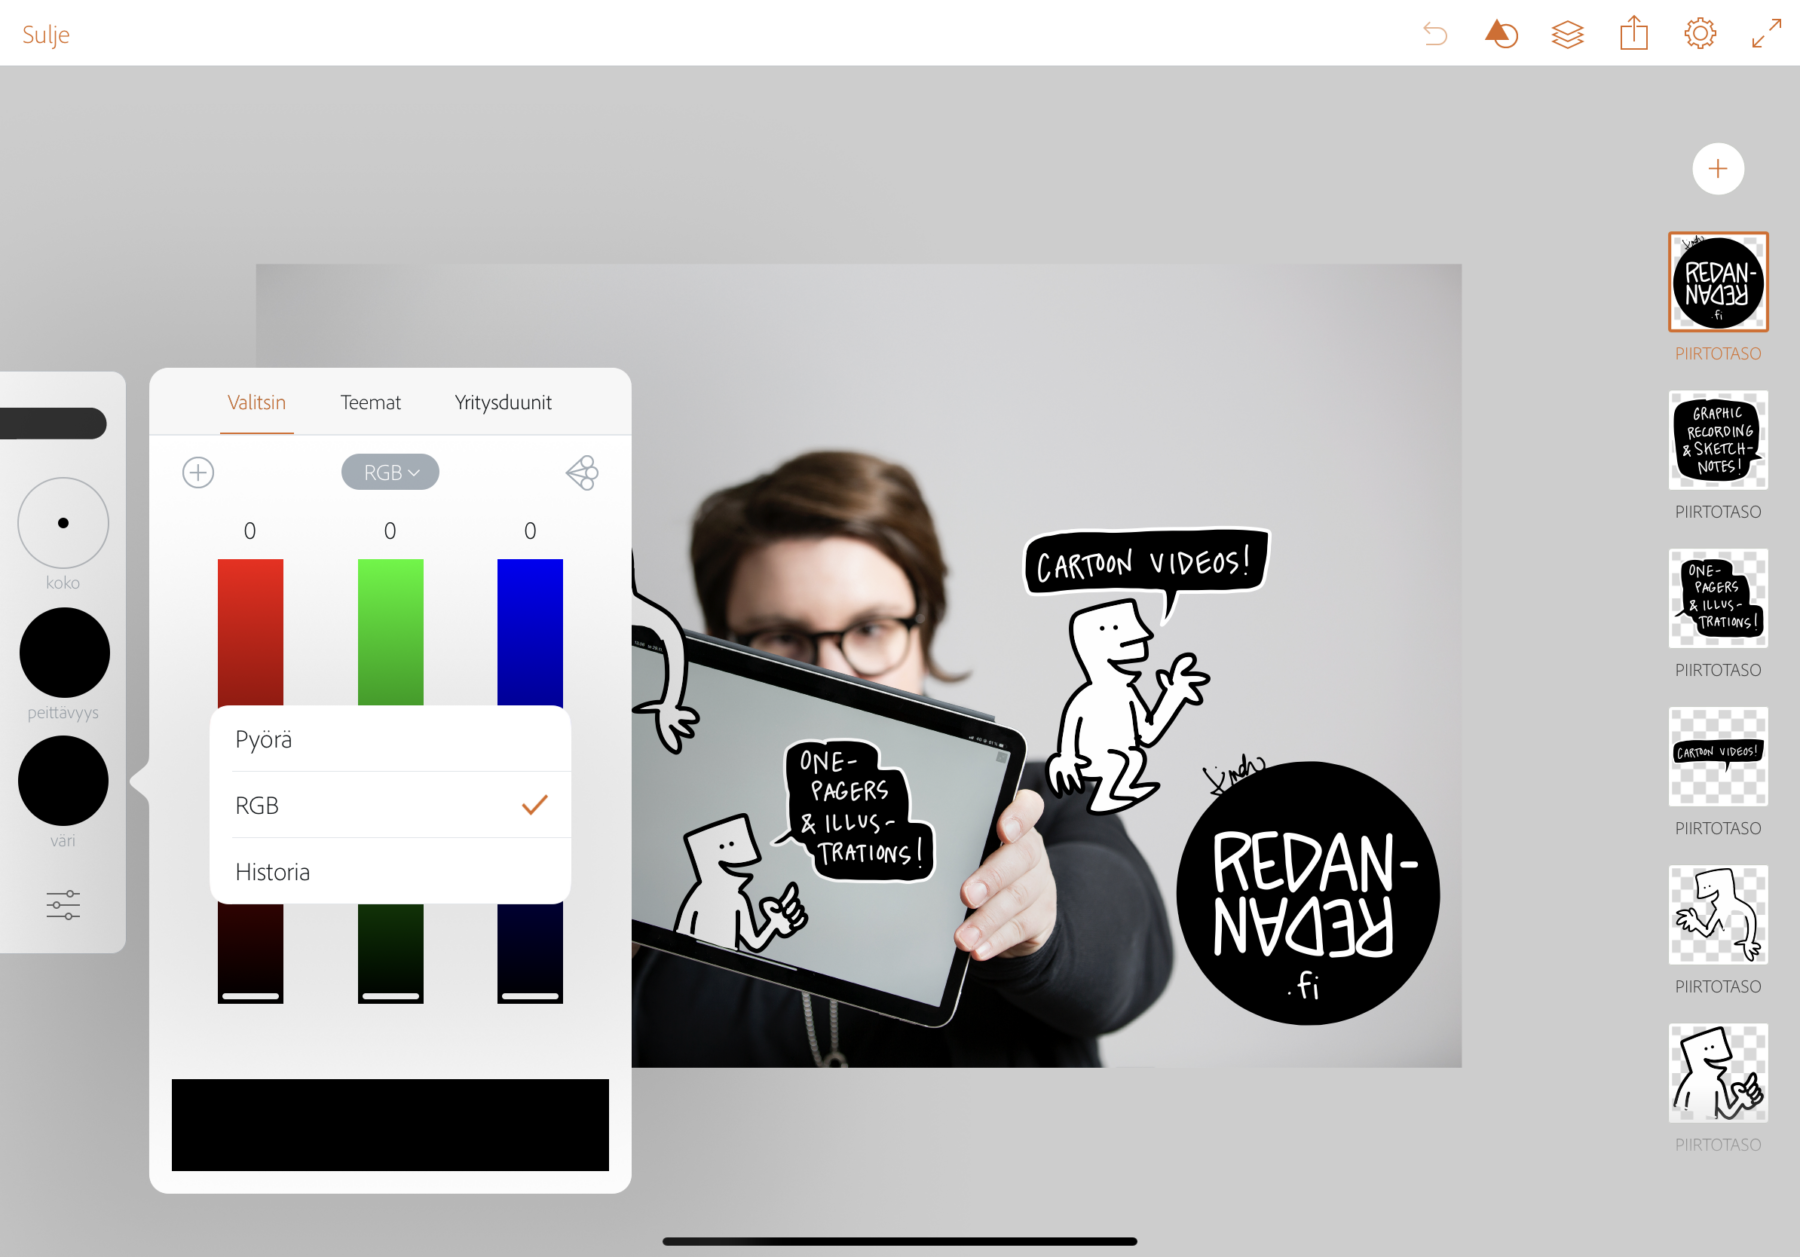
- Colours and eye-dropping tool: Adjust the colours and make a colour palette. Add a photo layer and pick the colours from the photo. A handy feature if you want to use event or company colours.
- Layers: Try drawing on one layer and adding colour to a layer underneath it. Or try drawing an element onto a layer and then move it around and adjust its size. Try adding a photo layer and draw on top of it. Try also merging layers and adjusting layer opacity. You could e.g. create pre sketches and base layers beforehand for real-time situations. If the opacity level of those layers is low, they won’t be seen in the projector light.

Adjust the colors 
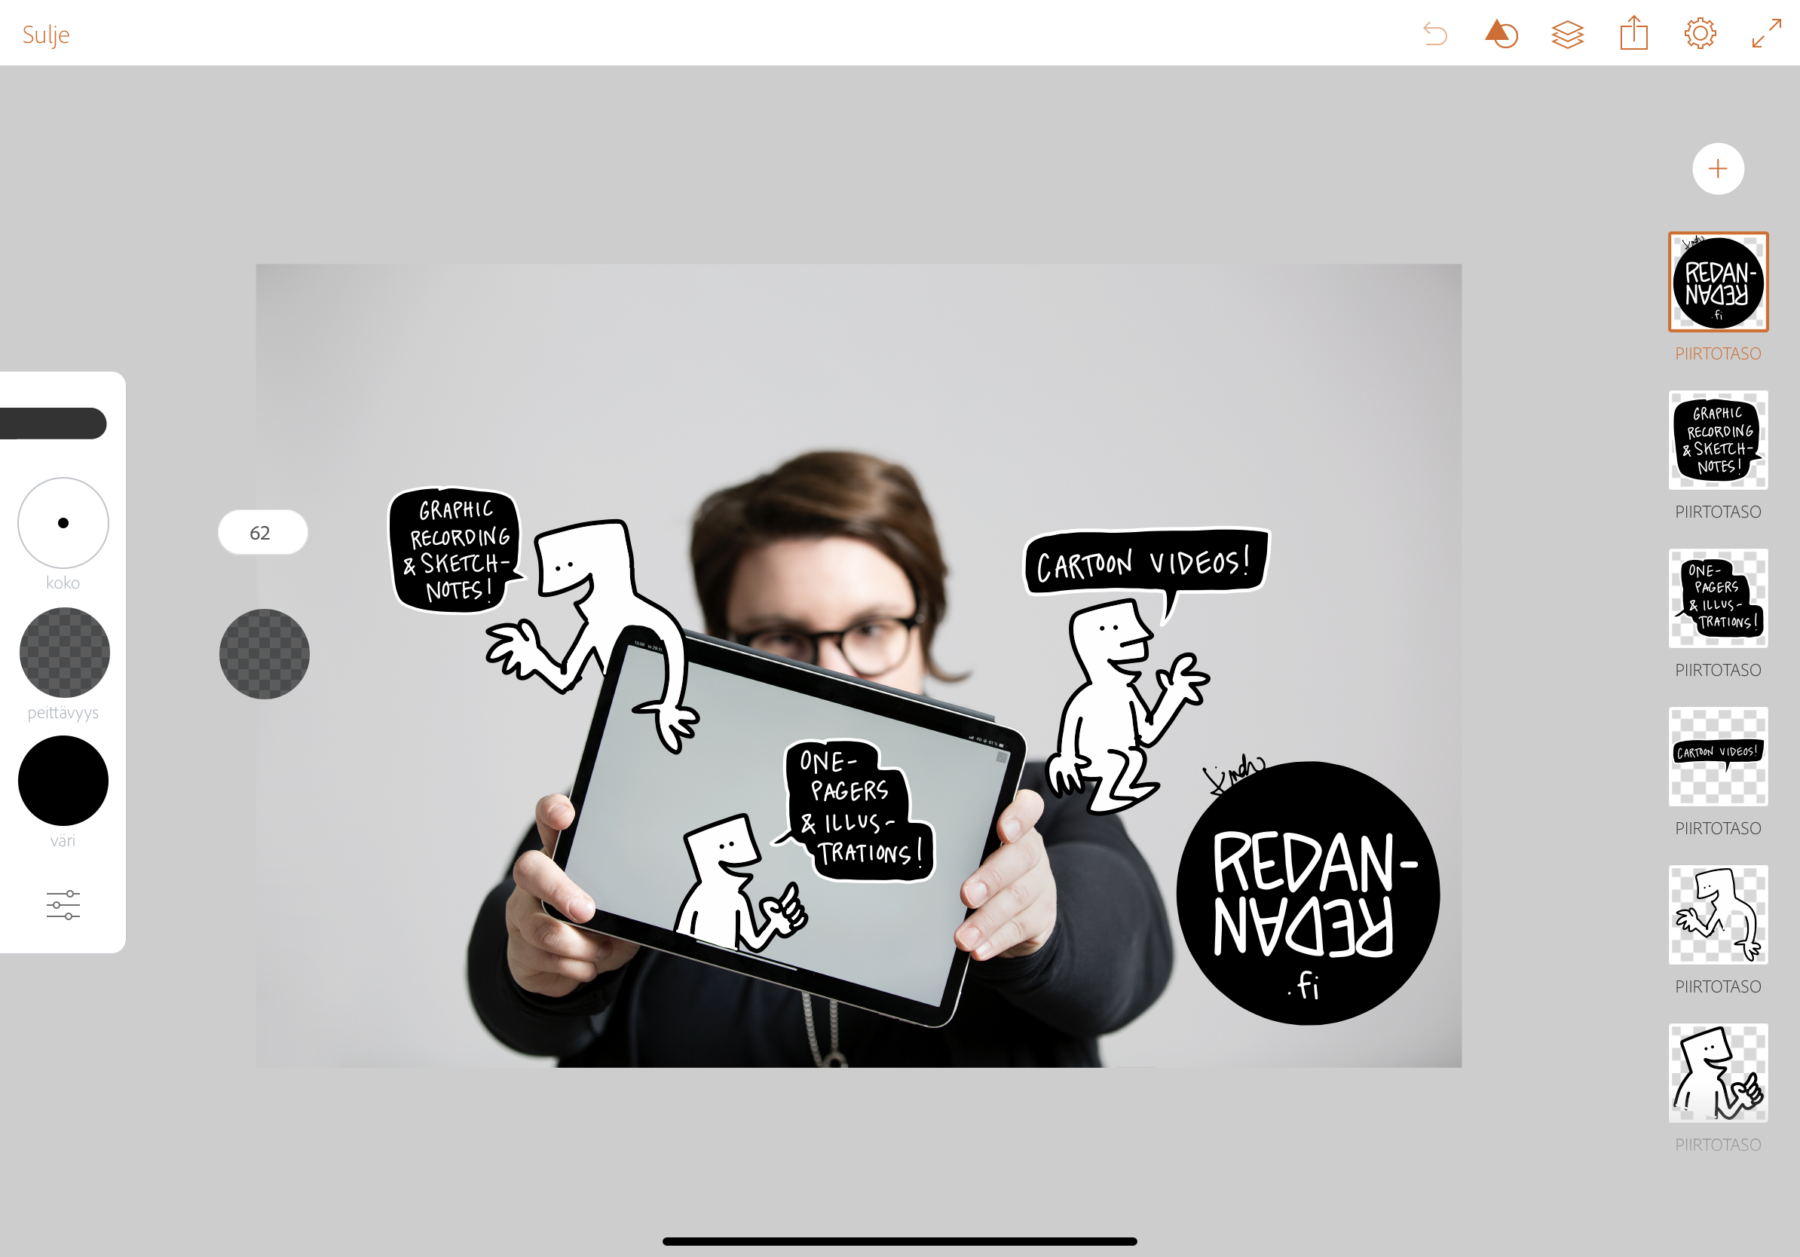
Change the opacity of the pen 
Create your own visual library with logos, shapes and drawings. - Shapes and grid: Draw circles and squares, fill them by pressing the pen inside the shape. Change the colour of the whole canvas by pressing with the pen onto it. (Note: in Adobe Draw it has to be a drawing layer, not the base canvas if you want to change the colour.) Adobe Draw has also the grid option to help you out with perspective etc.
- Moving parts of a drawing: In Procreate you’ve got the lasso tool to do the moving job, but in Adobe Draw you need to make a double layer. Then you erase all the extra bits from the other layer leaving just the stuff that you want to move or transform. Erase that same element from the other layer. A bit tricky especially when you need to be fast so you learn quickly to use multiple layers and placing your elements on separate layers in order to preserve flexibility. When the layers come to an end – in Draw there’s a limit – you just merge the older ones together.
- Drag and drop: Drag one layer onto the canvas, hold on and drop it into another project or canvas. Useful in real-time live situations if you’ve e.g. created the event logo on one canvas and you need to use it in another picture.
- Adobe Capture: Use another app called Adobe Capture to create a vector stamp of a company logo or a drawing that you made yourself. You can also create colour palettes with Adobe Capture. Capture takes the forms and colour palettes that you create into Creative Cloud and creates a library that you can use in Adobe Draw. Seamlessly. Really useful as you can create your own visual library. I’ve got the things I need to draw most often in my library: a globe, map of Finland etc.
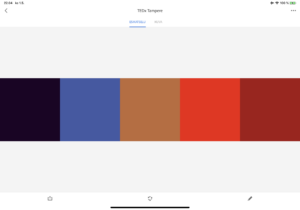
With Adobe Capture you create colour palettes easily. - Sharing: Try the different sharing options. Learn how to share a jpg image vs. a png image. Can you spot the difference? Notice that by hiding the background you get a png image without any background. Share a pdf and continue working on it on desktop version of Illustrator. Think about an effective way to share the image for the customer. I use Dropbox myself.
- Cropping the picture: When you’ve managed to share a jpg image, it’s placed in the image roll of your iPad. Try cropping it into different aspect ratios. 16:9 works best if the images are shown in the event e.g. at the end of the day. I use an app called Photoshop Express to crop the images to the size that I want.
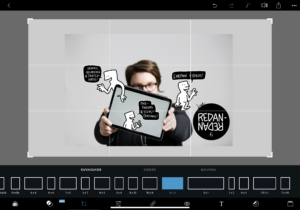
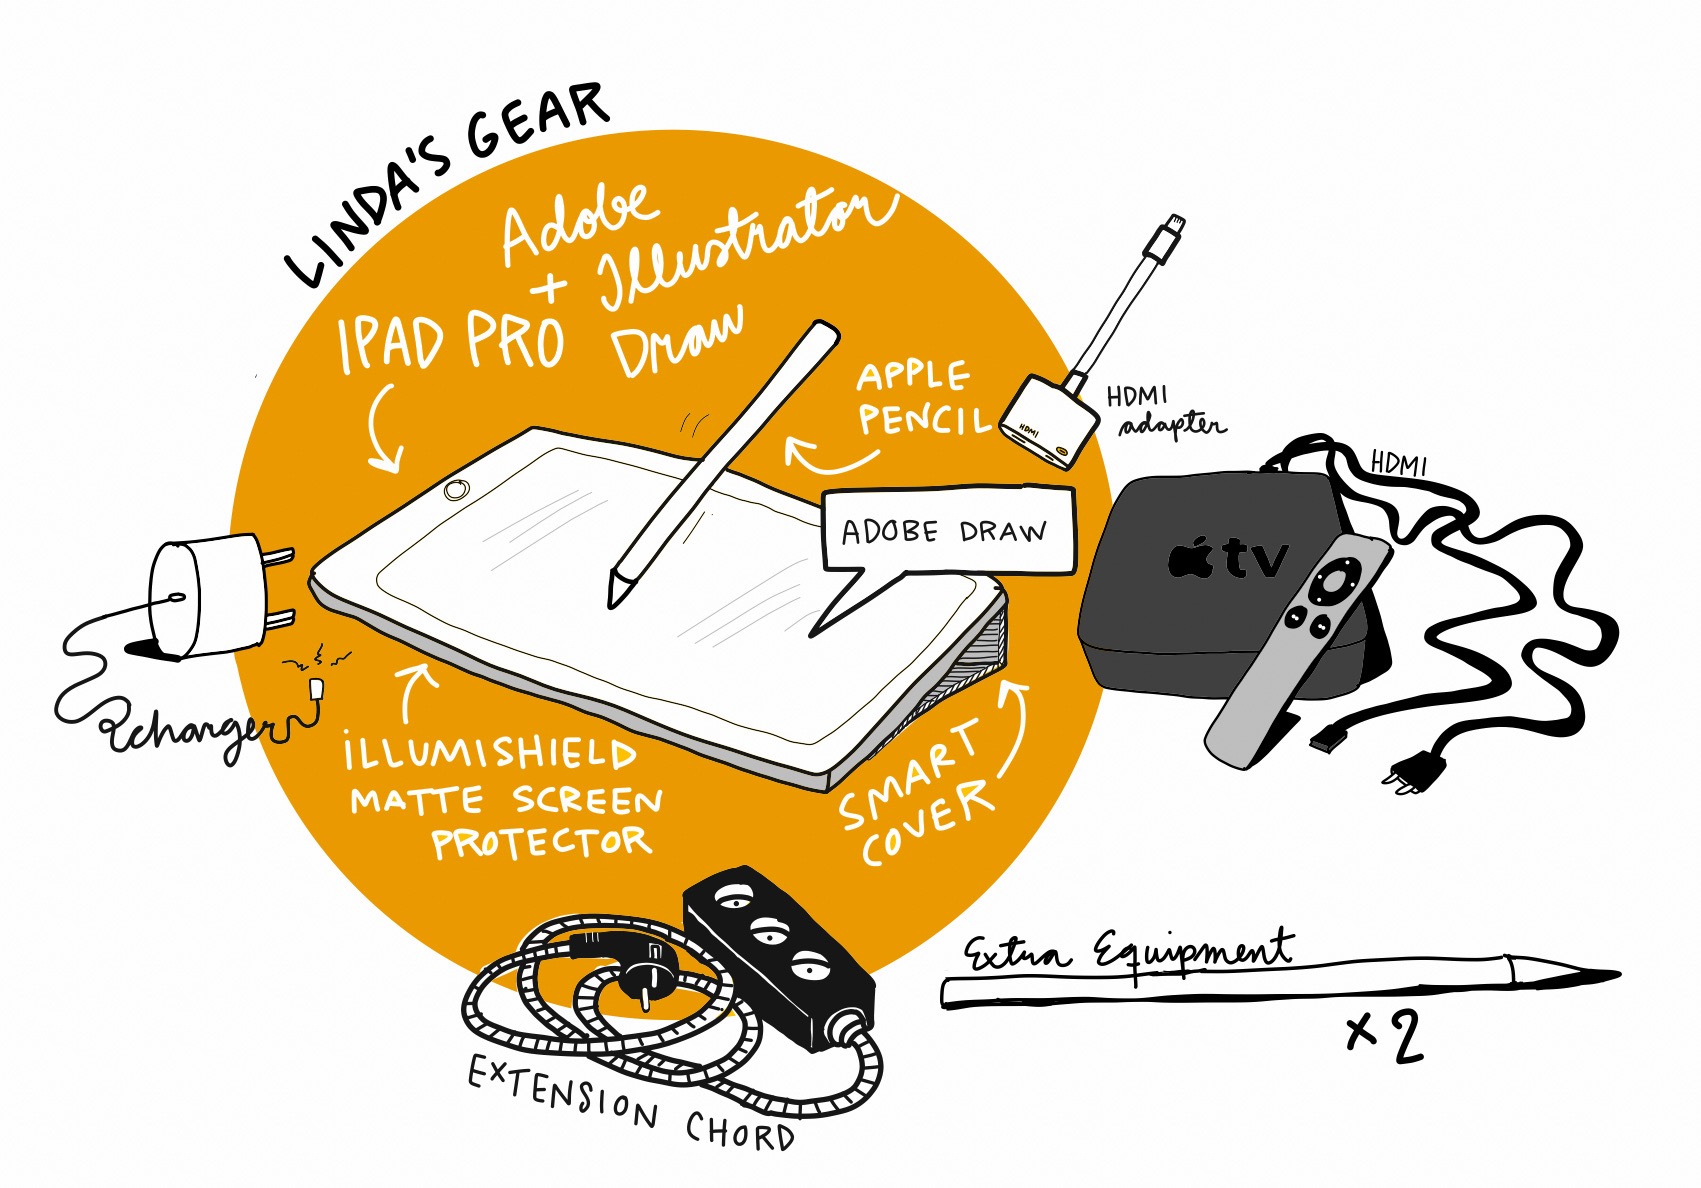
Cropping the image with PS Express - Projecting: Most often you’ll need an HDMI adapter to hook you iPad onto a projector. Try projecting with an Apple TV, too. Cables can be on your way at times so Apple TV is handy e.g. when you’re doing graphic recording at workshops.
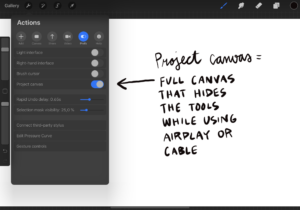
Procreate’s fine feature that Adobe Draw lacks.


These are the things that I recommend for you if you want to get to know the basics of your digital drawing app.When Adobe Gemini comes, it’ll change the game a bit but learning the basic tools with Draw helps you out with the new tool.
Have you tried out digital graphic recording? What is your favourite drawing app and why?
Written by
Linda Saukko-Rauta, Redanredan
Digital Graphic Recorder since 2010

Kirjoittaja
Linda Saukko-Rauta
Livekuvittaja ja yrittäjä
Oman elämänsä pilapiirtäjä ja sushirajan takana elelevä keski-ikäinen perheenäiti sekä sudeettipohjalainen, joka ei todellakaan rieku missään pilakuva- tai sarjisskenessä.